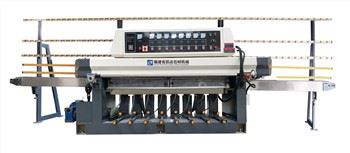
Hey there, fellow stone industry enthusiasts! As a supplier of Bridge Cutting Machines, I know how crucial it is to keep your equipment in top-notch condition. One of the essential maintenance tasks you'll need to tackle is replacing the cutting blade. In this blog post, I'm gonna walk you through the step-by-step process of how to replace the cutting blade of a bridge cutting machine.
Why Replace the Cutting Blade?
Before we dive into the replacement process, let's talk about why you'd need to replace the blade in the first place. Over time, the cutting blade on your bridge cutting machine will wear down due to constant use. A worn-out blade can lead to a bunch of problems, like poor cutting quality, slower cutting speeds, and even damage to the machine itself. So, replacing the blade at the right time is super important to keep your machine running smoothly and efficiently.
Tools You'll Need
First things first, let's gather the tools you'll need for this job. Here's a quick list:
- Wrench set: You'll need different sizes of wrenches to loosen and tighten the bolts.
- Safety goggles: Protect your eyes from any debris or sparks.
- Gloves: Keep your hands safe while handling the blade.
- Cleaning cloth: To wipe down the machine and the new blade.
Step 1: Safety First
Before you start working on the machine, make sure it's turned off and unplugged. This is a no-brainer, but it's the most important step. You don't want any accidental starts while you're working on the blade. Also, put on your safety goggles and gloves to protect yourself from any potential hazards.
Step 2: Remove the Old Blade
Once you've ensured the machine is safe to work on, it's time to remove the old blade. Locate the blade guard on the machine. Usually, there are a few bolts holding it in place. Use your wrench to loosen these bolts and remove the blade guard carefully.
Next, you'll see the blade itself. There's a large nut in the center of the blade that holds it in place. Use the appropriate-sized wrench to loosen this nut. Remember, the nut might be tightened pretty hard, so you might need to put some muscle into it. Once the nut is loose, you can remove it and take out the old blade.
Step 3: Inspect the Machine
With the old blade out, take a good look at the machine. Check for any signs of damage or wear on the blade mount and the other parts around it. If you notice any issues, it's a good idea to address them before installing the new blade. You can also use a cleaning cloth to wipe down the blade mount and remove any debris or dust.
Step 4: Choose the Right Blade
Now, it's time to choose the right blade for your bridge cutting machine. There are different types of blades available, depending on the material you're cutting. For example, if you're cutting granite, you'll need a blade specifically designed for granite. As a Bridge Cutting Machine supplier, we offer a wide range of high-quality blades that are suitable for different materials.
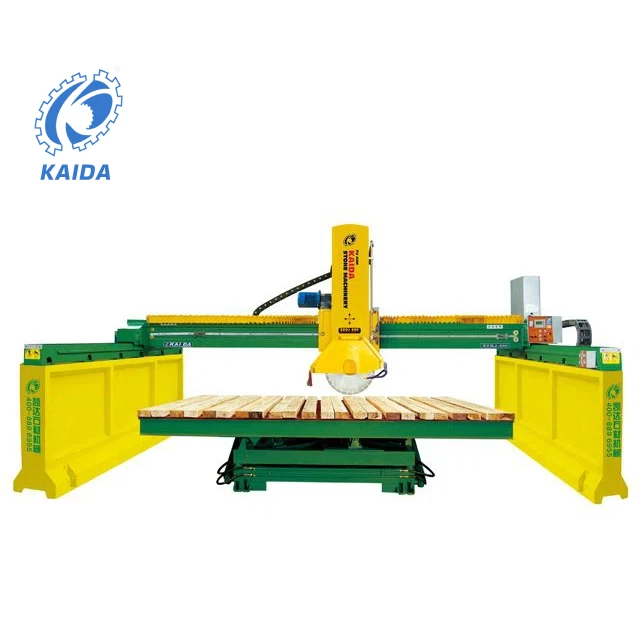
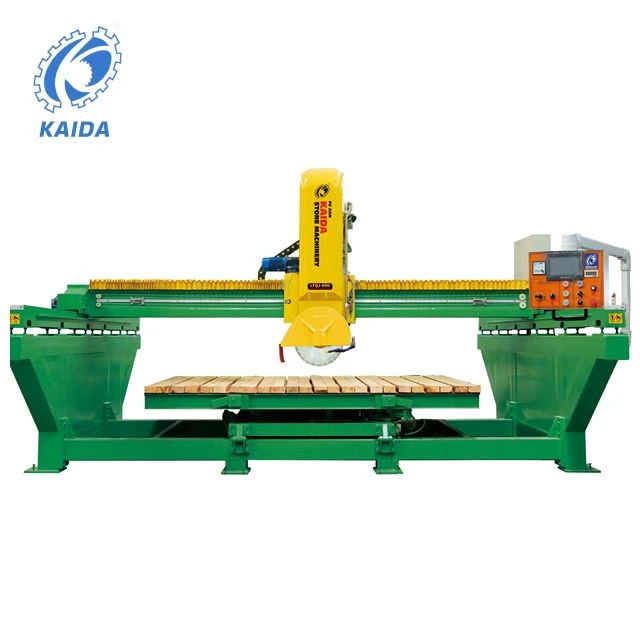
Here are some of our popular bridge cutting machines that work great with our blades:
- Medium-type Granite Slab Cutting Machine: This machine is perfect for cutting granite slabs with precision.
- Automatic Tilting 45 Degree Chamfering Bridge Saw Stone Cutting Machine: Ideal for creating chamfers on stone materials.
- Tilting 45 Degree Bridge Saw Cutting Machine For Granite Marble Tiles: Great for cutting granite and marble tiles at a 45-degree angle.
- SZQJ-400 High-Precision Infrared Bridge Cutting Machine: Offers high precision cutting with the help of infrared technology.
- Bridge Cutting Machine Machine With 45 Degree Cutting Head: Allows for 45-degree cutting, which is useful for various stoneworking projects.
Step 5: Install the New Blade
Once you've chosen the right blade, it's time to install it. Carefully place the new blade on the blade mount, making sure it's centered properly. Then, put the nut back on and tighten it using the wrench. Make sure the nut is tightened securely, but don't over-tighten it.
Step 6: Reattach the Blade Guard
After the new blade is installed, reattach the blade guard. Line up the holes in the guard with the bolts on the machine and use the wrench to tighten the bolts. Make sure the guard is properly secured and there are no loose parts.
Step 7: Test the Machine
Once you've completed all the steps, it's time to test the machine. Plug it in and turn it on. Let the machine run for a few minutes to make sure the blade is spinning smoothly. Then, make a test cut on a small piece of stone to check the cutting quality. If everything looks good, you're all set!
Conclusion
Replacing the cutting blade of a bridge cutting machine might seem like a daunting task, but if you follow these steps, it's actually not that difficult. Regular blade replacement is essential for maintaining the performance and longevity of your machine.
If you have any questions about blade replacement or if you're interested in purchasing a new bridge cutting machine or blades, feel free to reach out to us. We're here to help you with all your stone cutting needs.
References
- Stone Industry Handbook
- Bridge Cutting Machine User Manuals